Wednesday, September 20, 2006

Chocolate Chip Cookies - Got Milk?

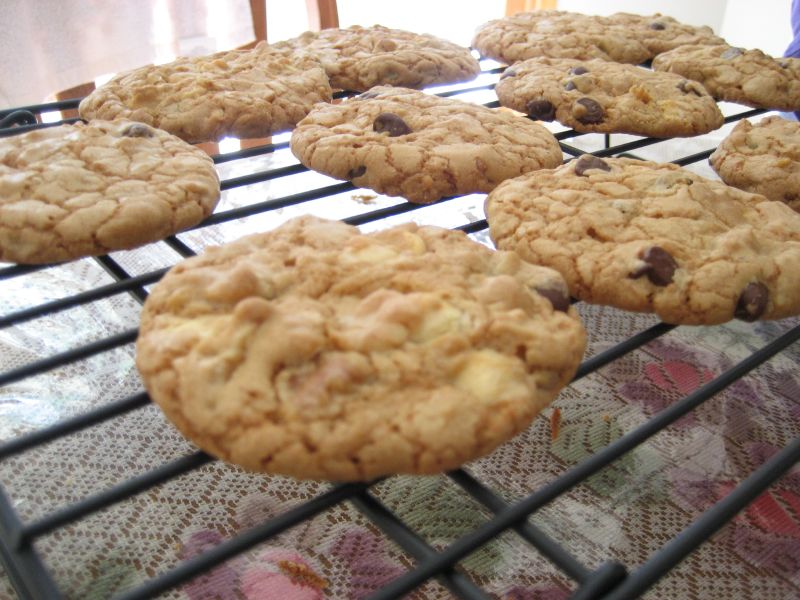
cookies cooling off on the baking racks

When it comes to chocolate chip cookies, I do not experiment with the recipe a lot. I do not go out searching or looking for new chocolate-chip recipes as the two recipes I have work perfectly! One is an egg-less chewy/cake-like chocolate chip recipe that and the other one is a Nestle Toll House chocolate chip recipe(printed on the back of the nestle tollhouse semi-sweet chocolate chips pacakge).

I do not have a picture for the eggless recipe but herez the recipe!

Software
---------------
  • 2/3 cup packed brown sugar
  • 2/3 cup white sugar
  • 2/3 cup margarine
  • 2/3 cup butter
  • 2/3 cup plain lowfat yogurt
  • 2 teaspoons vanilla extract
  • 1 teaspoon almond extract
  • 2 1/3 cups all-purpose flour
  • 3/4 teaspoon baking soda
  • 3/4 teaspoon salt
  • 2 cups combination chocolate chips(semi-sweet, dark and white)
  • 1 cup chopped walnuts (optional)
Hardware
---------------
  • 1 small mixing bowl
  • 1 large mixing bowl
  • electric mixer
  • cookie sheets

Method
---------------
  • Preheat oven to 350 degrees.
  • In a small bowl, combine the flour, baking soda and salt until well combined.
  • Cream together butter, margarine, the sugar until light and fluffy.
  • Add in the low-fat yogurt (I used the home made one) and the extracts, beat until well incorporated.
  • Add the flour in 3-4 installments mixing/beating well after each addition.
  • Mix in the chocolate-chips and the walnuts at the very end.
  • Drop on greased cookie sheets in 1 tbsp quantities (2 inches apart) and bake for about 10-12 mintues or until golden brown on the sides.

For the second recipe, I follow the nestle toll house recipe with slight variations.
  • Instead of 2 sticks of butter, I use 3/4th stick soy based margarine and 3/4th stick real butter.
  • Instead of all semi-sweet chocolate chips, I use a combination of dark chocolate chips, white chocolate chips and semi-sweet chocolate chips.
  • I increase the vanilla extract quantity to 2 teaspoons and add in a teaspoon of almond extract.
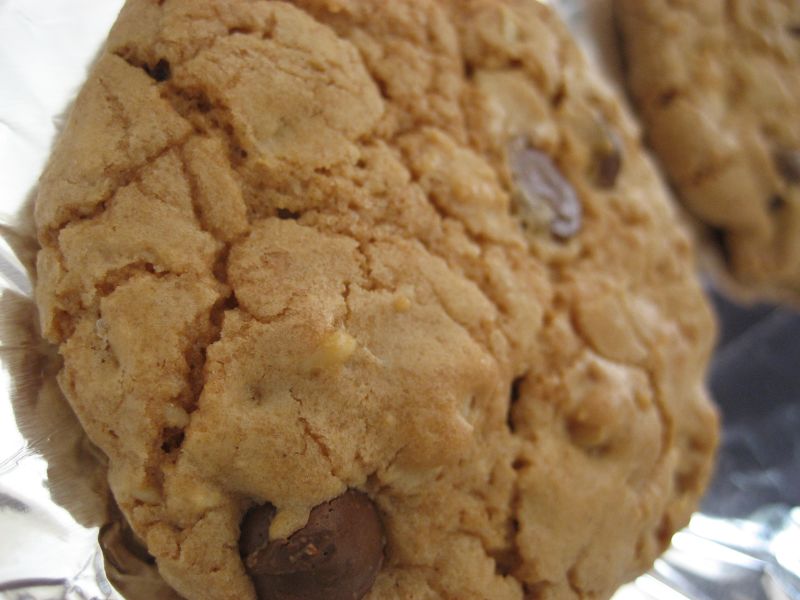
close up of the cookies

PS: The pictures were taken by one of our good friends, K when he came to visit us :)! There...K I gave you credit ;)...

Sunday, September 17, 2006

Well and Alive!

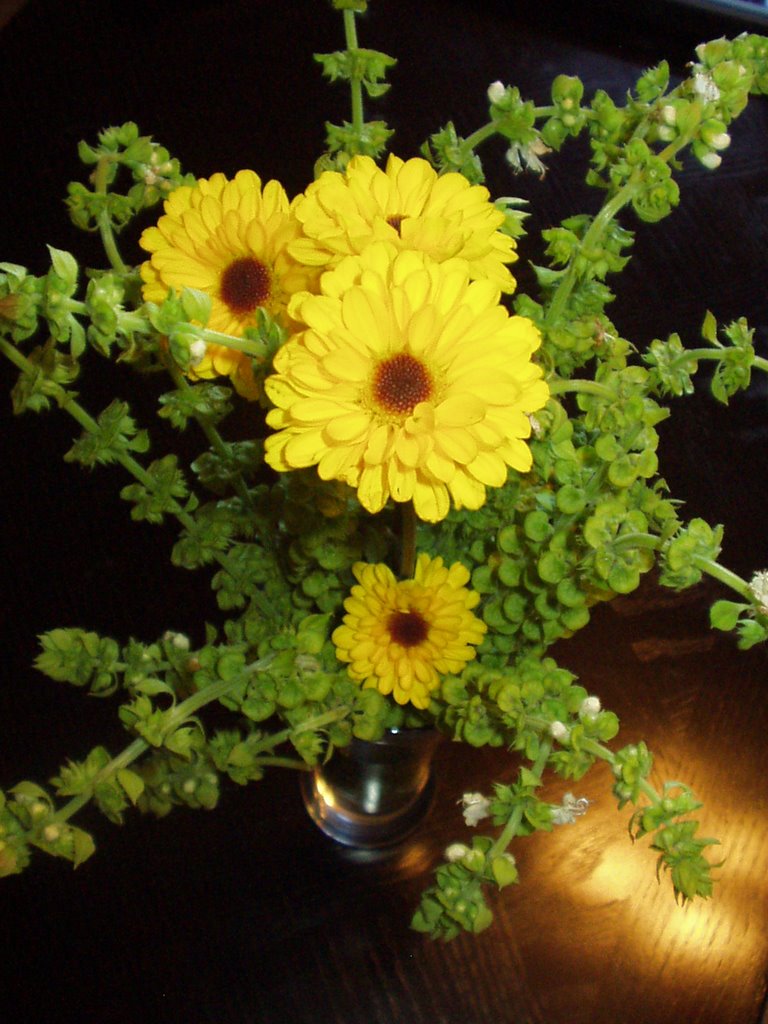
basil flower arrangement from basil flowers picked from P&V's garden

Hello everybody! Just a quick note to let you all know that I am alive and well.

I know I have been absent for a while. I have been cooking a LOT (more than I have ever cooked in my entire life) but haven't been having any time to blog lately! We have been busy entertaining friends at our new house. Someone said "your house must be very warm already" as a joke in reference to the "house-warming" parties we have been having at the house :).

Anyway, I hope to be back in blogging next week atleast for a little while before going dormant again :).

Tuesday, September 05, 2006

Moist, Dense and Delicious - Zucchini Bread

First off, I want to welcome Candace from Sugar Daisies into the food blogging world. She started up a baking blog just today so go check it out :)! Good luck, Candace and I cannot wait to try out your recipes!

On to the bread :) - couple of weeks ago, one of my friends that has Zucchini in her garden gave me some. I made some zucchini chutney with some and shredded the rest of it in the food processor and froze it in 2 cup measurements (2 cups coz most bread and muffin recipes seem to ask for 2 cups).

Yesterday, I baked some zucchini bread with it. The bread was the most moist, dense and delicious bread. I made a hybrid recipe out of Elise's zucchini bread with Paula Deen's recipe I found on food network's Website.

zucchini bread, sliced and ready to eat

Software
---------------
  • 3 eggs
  • 1 cup olive oil
  • 2 cups sugar
  • 1 tbsp vanilla
  • 2 cups grated zucchini*
  • 1 tbsp lemon juice
  • 3 1/4 cups all purpose flour
  • 2 tsps baking soda
  • 1 tsps salt
  • 1/2 tsps baking powder
  • 1 1/2 tsps cinnamon
  • 3/4 tsp nutmeg
  • 1 cup chopped walnuts
* Add in about 1/2 cup of water if using freshly grated zucchini. I eliminated the water since I was using frozen (defrosted) zucchini

Hardware
---------------
  • 2 loaf pans
  • 1 small mixing bowl
  • 1 large mixing bowl/mixer
Method
---------------
  • Preheat oven to 350 degrees.
  • In a mixer or using a hand mixer and the large mixing bowl, beat the eggs. Add the sugar, oil, vanilla and lemon juice. Mix on low-medium speed for about 2-3 minutes until well combined and thick. With a wooden spoon, mix in the zucchini.
  • In the small bowl, combine all the dry ingredients (flour, salt, baking soda, baking powder, cinnamon, nutmeg).
  • Add the dry ingredients gradually into the wet ones, mixing well after each addition. Add in the nuts at the very end.
  • Pour into the loaf pans, bake for about 50-60 minutes or until toothpick inserted comes out clean. Cool in pans for 15 minutes, invert them on to cooling racks to cool completely.
Thank you Elise for your recipe. It is definitely a keeper :)!

Monday, September 04, 2006

Jihva for Ghee and Butter

Addendum (Sept 21): I realize that it is a little too late but on popular demand, I have decided to add clarified butter and compound butter to the Jihva ingredients for this month! Have fun!

Indira of Mahanandi started a great revolving event that she aptly named "Jihva for Ingredients (JFI)". Indira has a wonderful post about what JFI actually means and what it is is for. Please go read about it right now!

Previous JFI events were hosted by Indira, Baking Fairy, Sailu, Santhi and Vineela!

This month it is my turn to host JFI. When I started thinking about the ingredient I wanted to choose, I had two criteria - an ingredient that is very Indian and also one that went with the "time" of the year. September and October this year are the festival months in India. Hence I am choosing "Ghee" as this month's JFI ingredient.

Now to the "rules specific to this edition of the game" -
  • Even though people out in the Internet world seem to use the term "clarified butter" and "ghee" interchangably, clarified butter is definitely not ghee. When making ghee from butter, clarified butter is a stage that you have to cross to get to ghee. Clarified butter takes a lot less time to make than ghee. When making clarified butter, since the butter is not cooked for such long time, all of the water and milk solids are not removed from the butter, so clarified butter has a much shorter shelf life and hence a little less flavorful (in my opinion). Unlike butter or clarified butter, ghee can be heated to a much higher temperature and things can actually be deep fried in ghee unlike butter. On this topic Indira mentioned that the "Joy of Cooking" has a section on ghee and clarified butter in the "butter" section (thanks, Indira for pointing that out!).
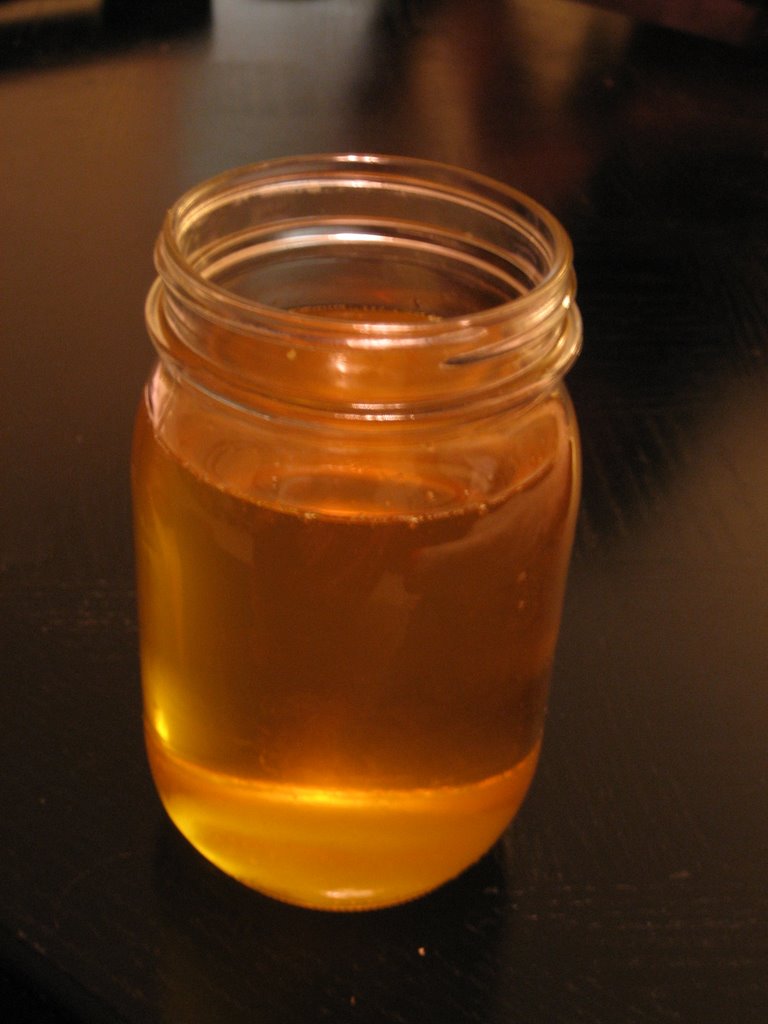
I would appreciate if all of you take a note of above and make something with ghee rather than with clarified butter. Indira has a great post on how to make ghee. I make my own ghee from unsalted organic butter and here is some fresh ghee that I made last night.


Now to the "general rules that I copied from Indira's event":

1. Prepare a recipe featuring ghee - cook/bake/fry/saute/braise/ with it - do whatever you please but ghee has to be the "star of the show" :).
2. Post the recipe on your blog on October 1st, Sunday.
3. Send me via email (cookingmedley gmail com) - the link to your post and a photo of the entry in 75×75pixel size.
4. Please include the title of post and your blog name.
5. I’ll post an entry along with you on October 1st and also will do the roundup of all the entries that I received by that week’s end.
6. Nostalgic tales, paintings, and drawings, anything related to ghee is welcome from interested general (non-food) bloggers.

So, put on your aprons, have fun and a very happy festive season to everyone!

Wednesday, August 30, 2006

More on Vinayaka Chathurthi

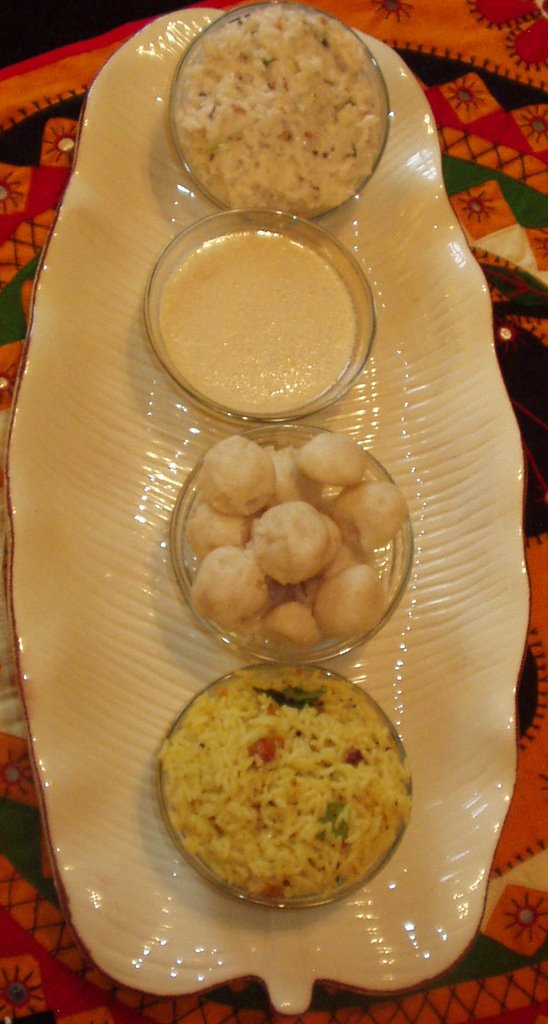
I have been extremely busy both at work and at home. So this post is only going to be pictures. Some of you have asked me what I made on Vinayaka Chathurthi day. I made pulihora, daddojanam, undralla payasam and biyyam (rice) undrallu.

The undrallu payasam is a pretty eloborate payasam and preperation for it starts a couple - three days before the payasam is actually made. I will try and do a write up as soon as I can.

Since Ganesha is at home, I have been making naivedyam for him everyday! On Monday, I made sesame and jaggery laddoos, Tuesday it was sweet potato halwa (I lost the picture of the halwa) and it was semiya payasam this morning!

food on Vinayaka Chathurthi - daddojanam, undralla payasam, biyyam undrallu and lemon rice (top to bottom)

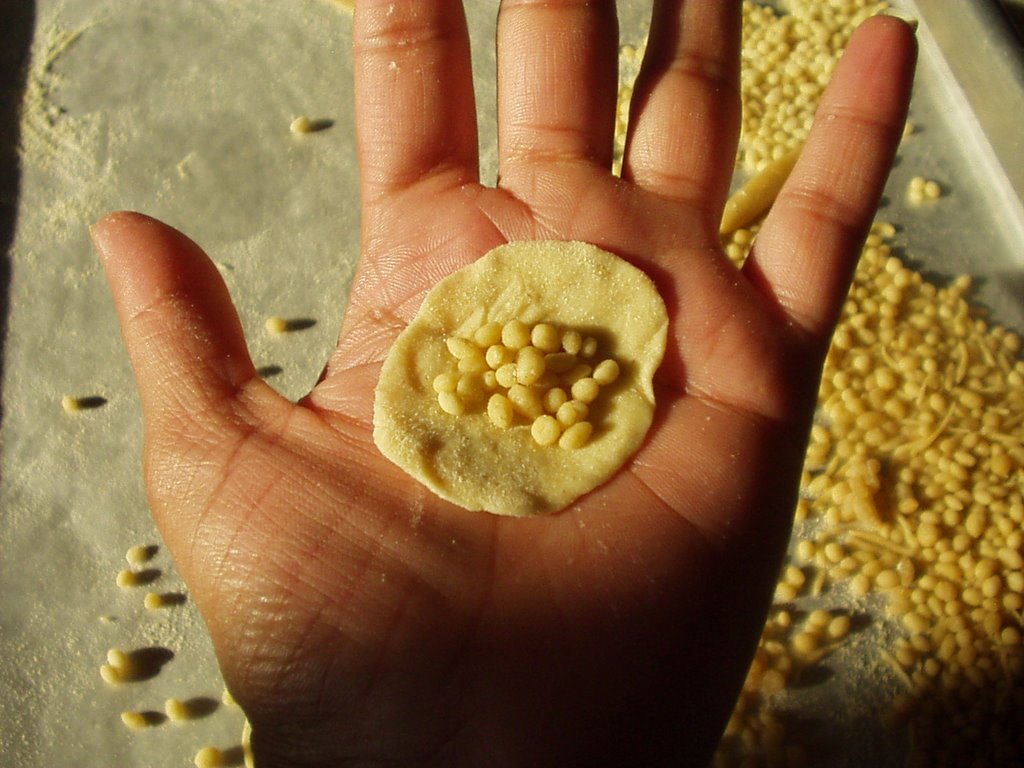
making the undrallu for the undralla payasam

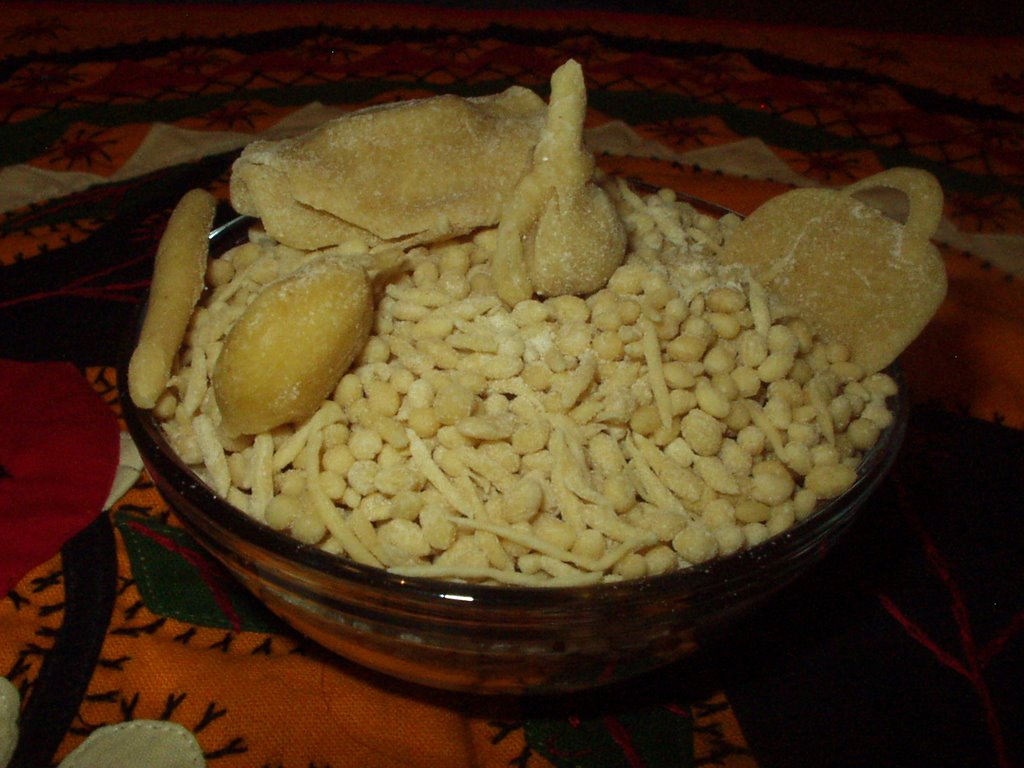
the undrallu all ready to be made into payasam

3 minute sesame seed and jaggery balls

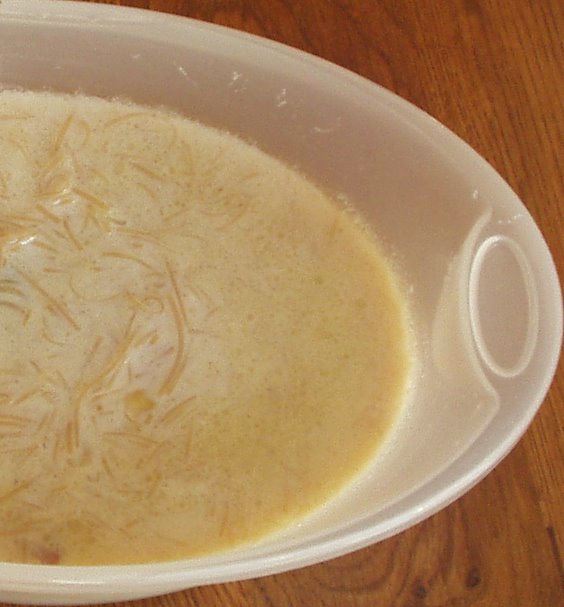
10 min semiya payasam

Saturday, August 26, 2006

Happy Vinayaka Chathurthi


home made Ganapthis/Vinayakas/Ganesh with clay and colors

Happy Vinayaka Chathurthi to everyone! Enjoy our "home made" Ganapathis. This is how a few of us spent our Friday night last night - by making our own clay Ganeshas. This is the first time I have done and will not be the last time :). This was so much fun!

Monday, August 21, 2006

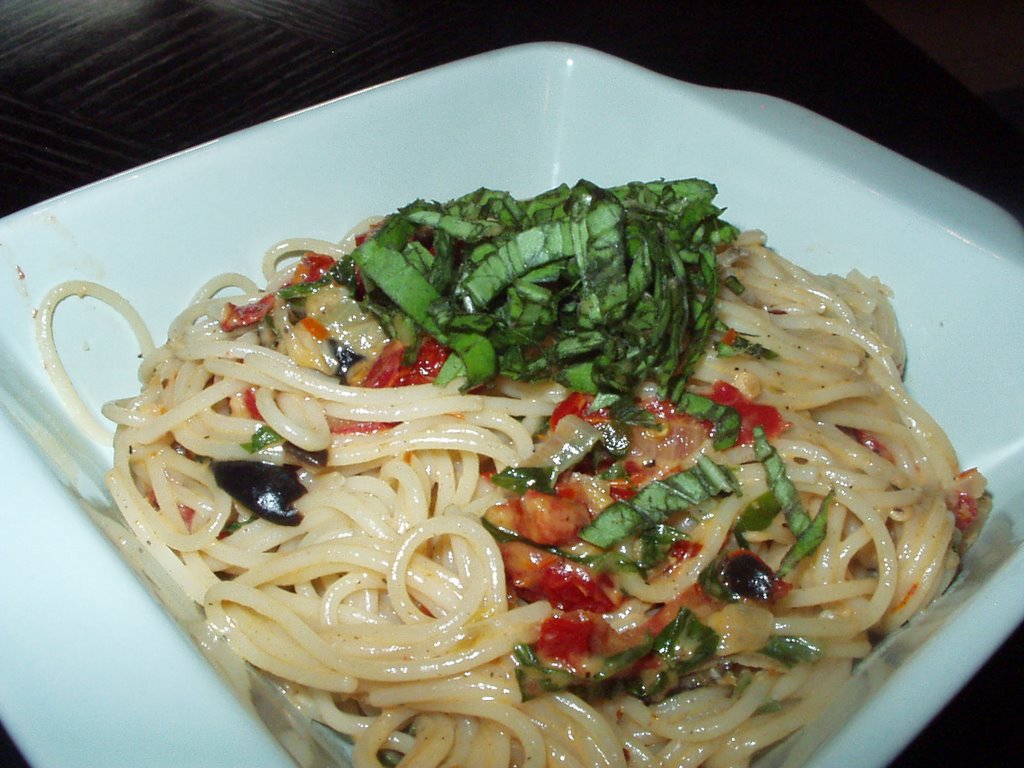
Angel Hair Pasta with Sun-Dried Tomatoes, Black Olives and Basil

angel hair pasta with sun-dried tomatoes, olives and basil

This is another 20 minute meal. Perfect for days like today - we ate a little too much for lunch so something light and refreshing like this is perfect for dinner. Straight to the "recipe".

Software
---------------
  • 3 tbsp extra virgin olive oil
  • 1 small onion, finely diced
  • 3 cloves garlic, finely minced
  • 1/2 cup black olives, sliced
  • 3.5 oz sun-dried tomatoes, sliced
  • 1 tbsp crushed red pepper (optional)
  • 1/4 cup milk/half and half
  • 1 cup chopped fresh basil
  • salt and freshly ground pepper, to taste
  • Angel hair pasta
Hardware
---------------
  • one skillet (NOT a non-stick skillet)
  • one stock pot for the pasta
Method
---------------
  • First off, boil water in the pasta pot for the angel hair.
  • Put the non-stick skillet on medium heat, add the oil. Add in the garlic and the onions, fry until translucent.
  • Add in the red pepper, black olives, sun-dried tomatoes, freshly ground black pepper and salt.
  • The pasta water should be boiling by now. Add in the pasta and some salt. Let the pasta cook.
  • Cook the sauce for about 3-4 minutes then add in the milk/half and half and deglaze the pan. Turn off the heat, add about 3/4th of the basil.
  • Toss the sauce with the pasta, serve. Garnish with the rest of the basil.
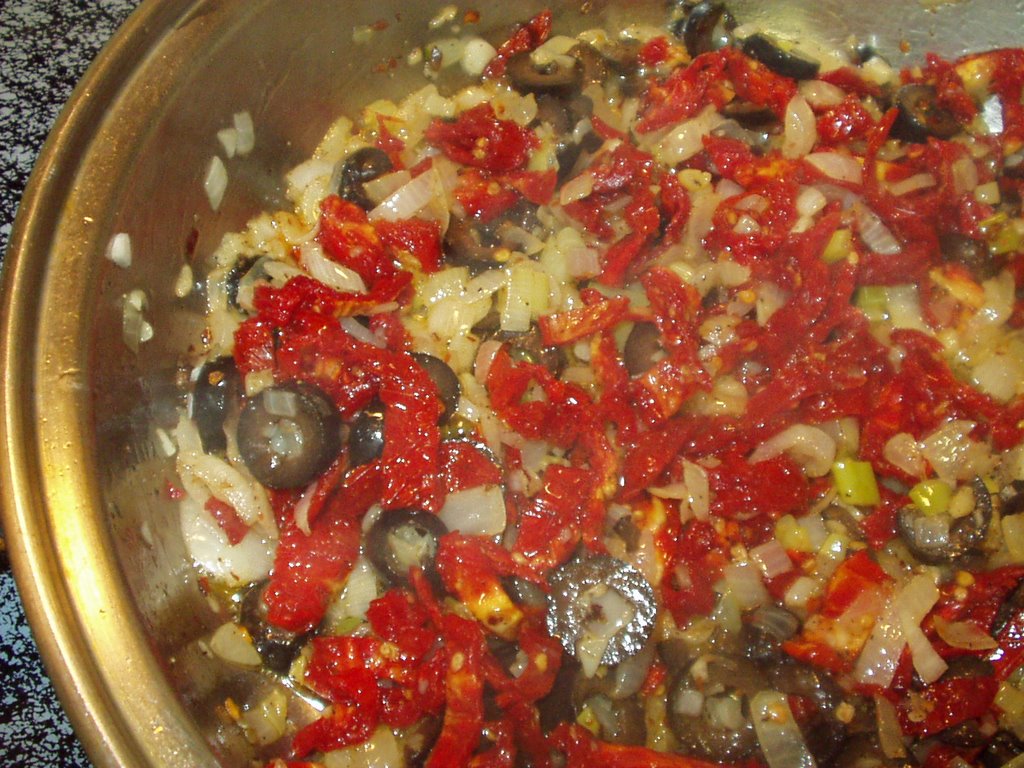
sun-dried tomato pasta sauce cooking

Update: As per Vaishali of Happy Burp's idea I am inlcuding this "extra" - When I was gathering ingredients from the refrigerator to make this pasta, my eyes did fall on the jar of half used capers and I thought of putting them at the end but I completely forgot about it until I was done eating the pasta. But a tablespoon or two of capers, added at the very end right before the milk would go very well with this pasta. Also, instead of the milk, one could deglaze the pan with some wine if you like going that route :).

Thursday, August 17, 2006

Sauteed Paneer Spinach and Carrots

sauteed paneer, spinach and carrots with phulkas
(the phulkas are made of 3/4 parts whole-wheat flour and 1/4 parts golden temple atta)

Tonight was one of those nights - the nights when I come home with a thoughtout plan for what to make for dinner but then something happens which affects the plans I had in mind. I wanted to make "chamadumpala pulusu" (colacasia in tamarind gravy) with phulkas but upon opening the cabinets, I found that I waited too long to make the dish. The colacasia I got were already bad and had white spots on them (ewww) - had to pitch them. Then I frantically looked in the freezer and didn't find any veggies that I wanted to cook with but found some home made paneer. In the refrigerator were some carrots and a bag of baby spinach. I made a quick decision and decided to whip up something with what I had on hand. What I should say is that it was a HUGE hit. We loved the end result. The most appealing aspect of this dish is that it took all of 20 minutes to make it (It will probably take me more time to actually type out this recipe).

Software
---------------
  • 1 tsp extra virgin olive oil
  • 1 tsp each of cumin and mustard seeds
  • 1 small onion, finely diced
  • 5 green chilis, finely chopped
  • 2 garlic cloves, finely chopped
  • 5 carrots, finely diced
  • 10-12 one inch paneer cubes
  • 10 oz bag baby spinach
  • 1/4 tsp turmeric powder
  • 1 tsp coriander powder
  • 1 pinch garam masala (roasted cinnamon, cloves, caradamom and shahjeera powder in equal amounts)
  • salt, to taste
  • handful chopped cilantro (optional)
Hardware
---------------
  • One medium sauce pan with a lid
Method
---------------
  • To start off, put the finely chopped carrots in a microwave safe vessel, sprinkle about a couple of tablespoons of water and microwave covered for about 4 mins until the carrot is soft but not mushy.
  • Put the sauce pan on medium heat, add the cumin and mustard seeds. Let them splutter.
  • Add the green chilis, onions and garlic, fry until onions are translucent.
  • Then add in the microwaved carrots and the paneer. Add in the salt. Cook for a couple of minutes stirring often. As you stir crumble up the paneer.
  • Add the baby spinach. The spinach may act like it doesn't want to get in the saucepan, but just jam it in there and close the lid and cook on medium heat for about 3-4 minutes.
  • Open the lid and the spinach should all be wilted, stir well.
  • Check the salt and add the coriander and the garam masala powders. Turn off the heat.
  • Garnish with cilantro.
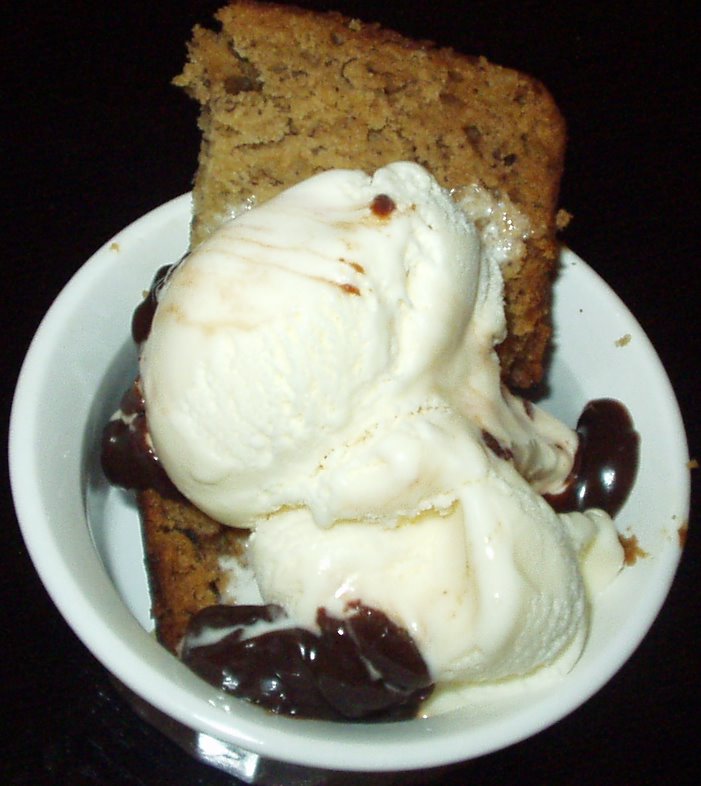
Dessert tonight was Elise's Banana Bread with vanilla icecream and a drizzle of some hot fudge. The only change I made to Elise's recipe is that I added 1/4 tsp of nutmeg, reduced the sugar to 3/4 cup and added in about 1/4 cup of chopped walnuts. Thank you, Elise. That recipe is a keeper - so easy to remember and simple to make. Made the most moist and delicious banana bread!

banana bread w/ vanilla icecream and hot fudge

Tuesday, August 08, 2006

Home Grown Tomatoes - Tomato "Roti" Pachadi - GBP Project

tomatoes of different shapes and sizes

Well...we moved but still have some unpacking to do which I am not sure will ever get done ;). All my friends tell me that it is "normal" to have some boxes that are left unpacked. We unpacked everything that we "see" lying around in the house on a regular basis but the boxes that were put in the garage during the move are the boxes that we haven't touched.

I thought I would do a quick post before I loose all my blog readers :).

The following is a picture of the tomatoes on the one and only one plant I planted in a 20 inch pot when I was in the apartment. It is still in the pot in the new house and has been doing pretty good, if I may add. It hasn't given me enough tomatoes to actually make a pachadi out of it but the three tomatoes that I harvested from this plant, combined with another couple of tomatoes given to me by my friend Laurie and others that I bought from the local produce market made some awesome pachadi. This will also be my first contribution to the GBP project that L.G is hosting over at her place.

the tomato plant in a pot

Back home in India, 'Roti pachadis' are generally made in a stone mortar and pestle by hand. I remember my grandmother, meticulously grinding these awesome pachadis in the "pachadi" mortar and pestle. Their entire house had about 4-5 different kind of stone mortar and pestles - different ones for different uses and different ingredients.

Any whoo, coming to the tomato pachadi - there are a gazillion different ways of doing it. My recipe is from mom and it is so simple that you can still taste the tomatoes without the over powering taste of anything else.

Software
---------------
  • Tomatoes - I did not keep track of how many I used. I used all of the large tomatoes that you see in the picture + another half of the small roma ones you see in the picture
  • Green chilis - 2-3 sliced
  • Red chili powder - 1/2 tsp (or more if you like the heat)
  • 1/4 tsp cumin powder
  • 1 tsp coriander powder
  • Salt - to taste
  • 1 tsp extra virgin olive oil
For the tadka/popu
---------------------
  • 1 tsp extra virgin olive oil
  • 1 tbsp chana dal
  • 1 tbsp urad dal
  • 1 tsp cumin seeds
  • 1 tsp black mustard seeds
  • 1 sprig curry leaves, broken
Hardware
---------------
  • one sauce pan
  • one small pan for the tadka
  • Blender/food processor
Method
---------------
  • Put the 1 tsp oil in the sauce pan, add the green chilies and the tomatoes. Cook on medium to medium-high heat until tomatoes are all cooked and water evaporates from them. The tomatoes should resemble a thick mass.
  • Add the cumin, coriander powder, chili powder and salt and turn off the heat. Let it cool a bit.
  • Put the tomatoes in the blender or food processor and process until smooth.
For the tadka
---------------
  • Put the oil in the small pan. Add the chana dal and the urad dal, fry for a minute or so. Add in the cumin and the mustard seeds wait until they splutter. Add the curry leaves. Turn off the heat and add the tadka to the chutney.
tomato chutney

PS: The chutney goes well with dal and rice or chapathis. The tadka can be skipped and the chutney could be used as a sandwich/tortilla spread. For a sweet version of the chutney, skip the chili powder, reduce the salt to a pinch and add in some sugar!

Sunday, July 23, 2006

Colorful Colorado - Part I

First off, I apologize because this is a non-food related post. I have been cooking and taking pictures but haven't had the time to sit and write up the blog entries. I first logged in to post some of my living room pictures - covered with packed moving boxes and then I wandered over to Linda's blog where she had posted some amazing pictures of the rockies. I then changed my mind and decided to post some of my vacation pictures from last month - also of Colorado. Who would have liked to look at pictures of moving boxes, anyway?

One view of the blue-mesa river, taken on our way from Salida to Silverton

Million dollar highway is a 70 mile stretch from Ouray through Silverton and ultimately to Durango. We drove from Ouray to Silverton, rode a bus from Silverton to Durango and then a train from Durango back to silverton, then drove ourselves again from Silverton to Ouray onto Colorado Springs. Whew! that was a long sentence :).

The redmountains as we saw them from the million dollar highway

Another of the million dollar highway pictures

The Silverton-Durango train chugging away in harmony with the Animas river

A picturesque view of a lake on the Silverton to Durango train trip

Another view of the lake

The baby gorilla, Umande at the Cheyenne Mountain Zoo in Colorado Springs. Since his mother would not take care of him, there was a care-taker that was there with him all the time to look after him

Baby Gorilla, Umande at the Cheyenne Moutain Zoo, taking the help of his helper to get out of his crate

One of the many canyon views of the black canyon of the Gunnison National Park

Box canyon water falls in Ouray, CO

I will post other pictures as and when I get a chance and I promise, I will return to food blogging as soon as I am done with a little thing called moving!

Monday, July 10, 2006

Back in time for some Refreshing Summer Drinks

Hello everyone! I am back, atleast for a little while. Feels like the last time I blogged it was still Spring.

Thank you to all of you that checked up on me. I am very sorry about my long absence from the blog world. Now my excuses as to why I didn't blog - first it was a work trip, then a vacation and then a little event called buying a house :). Yes, that is right, we have decided to make the biggest purchase of our lives, unless ofcourse we make so much money that we end up buying one of these - but I wouldn't put any money on that happening though! We are closing and moving within the next few weeks so my blog posts will be sporadic all through July and a good part of August. I am pretty psyched about moving into the house. For starters, the kitchen in the house is three times the size of my tiny apartment kitchen and I cannot wait to cook in the new house!

These are a couple of summer drinks I made in the last week or so when the mercury here topped at high 90s with 90% humidity.

spiced berry banana smoothie

First up is a spiced berry banana smoothie - I put about 8-9 frozen strawberries, 1 cup of frozen blueberries, 1 banana, 1 cup of plain homemade yoghurt and topped the blender with about 1-2 cups of milk so it reaches the 40 oz mark on the blender. I then added a pinch of freshly grated nutmeg and a 1/2 a tsp of cinnamon, blended it all together for a refreshing summer drink.

Next in line is a very easy watermelon juice drink - I put some seedless watermelon chunks in the blender, added some blackpepper, blended it all together. The drink was ready to savour.

I hope you all are enjoying the Summer as much as I am :). Stay cool, everyone!

Monday, June 12, 2006

Amrutham - food of the Gods

Amrutham (a dessert of carrots,almonds cooked in milk)
Bowl in pic was robbed from A's kitchen

Well, it really does taste like food of the Gods. Ambrosia would be the closest translation to the Sanskrit word Amrutham. One of our friends Mohan had brought this dessert to a potluck party on Tamil New Year day back in April. I really liked the dessert so I asked him for a recipe. He sent the recipe to me the very next day but I somehow never got around to making it. Finally, this last weekend, I made it at another of our friend A's home. It is definitely much more fun cooking in A's big, spacious and airy kitchen. It makes cooking all the more fun.

I am just doing a copy paste of the recipe that Mohan had sent me. Yes, folks he really did send me the detailed instructions :) that you see. Thank you Mohan for the recipe and thank you A for giving me a chance to actually make it :).

Software
---------------
  • 4-6 carrots
  • 2-3 tbsp ghee/Clarified butter
  • ½ gallon milk - whole or 2%
  • 1 cup almonds peeled, unpeeled, or sliced, powdered
  • 15 kernels cashews, split into 1/4 inch pieces
  • 1/2 cup raisins
  • 1 can sweetened condensed milk
  • 1/2 cup sugar (optional)
  • 6 cardamom pods, powdered
  • 6 cloves, powdered
Hardware
---------------
  • One grater
  • One sauce pan
Method
---------------
  • Wash and peel 4-6 medium sized carrots, and grate them finely.
  • In a big pan, saute the grated carrots with 2-3 table sppons of ghee.
  • Once the carrots are partly cooked, pour 3-4 cups of milk, let ot boil, and stir occasionally until carrots are very softly cooked.
  • Carefully mix powdered almonds adding required amount of milk; break any lumps, and make a smooth paste.
  • In instalments, add the almond paste to the cooked carrots; stir continuously to avoid lumping.
  • Add condensed milk, stir to make a homogeneous mixture.
  • Add the sugar, stir to dissolve; allow to boil for a while.
  • The required consistency is like a payasam/paramanam. Add more milk, or boil to thicken as needed.
  • Taste the Amrutham, add more sugar, if needed.
  • If the consistency and sweetness are OK, remove the pan from heat.
  • Add powdered elaichi and cloves.
  • Heat a smaller pan with 1 table spoon of ghee; stir & fry cashews until light brown; add to Amrutham.
  • Reheat the smaller pan with 1 table spoon of ghee; stir & fry raisins until 75% of raisins bulge; add to Amrutham.
  • Mix the Amrutham well, serve either hot or cold or however.
Since this has carrots in it, a great antioxidant rich veggie, I am sending this over to lovely Cate of Sweetnicks for her weekly ARF/5-a-day roundup.

Thursday, June 08, 2006

Carrot Cake with Cream Cheese Frosting

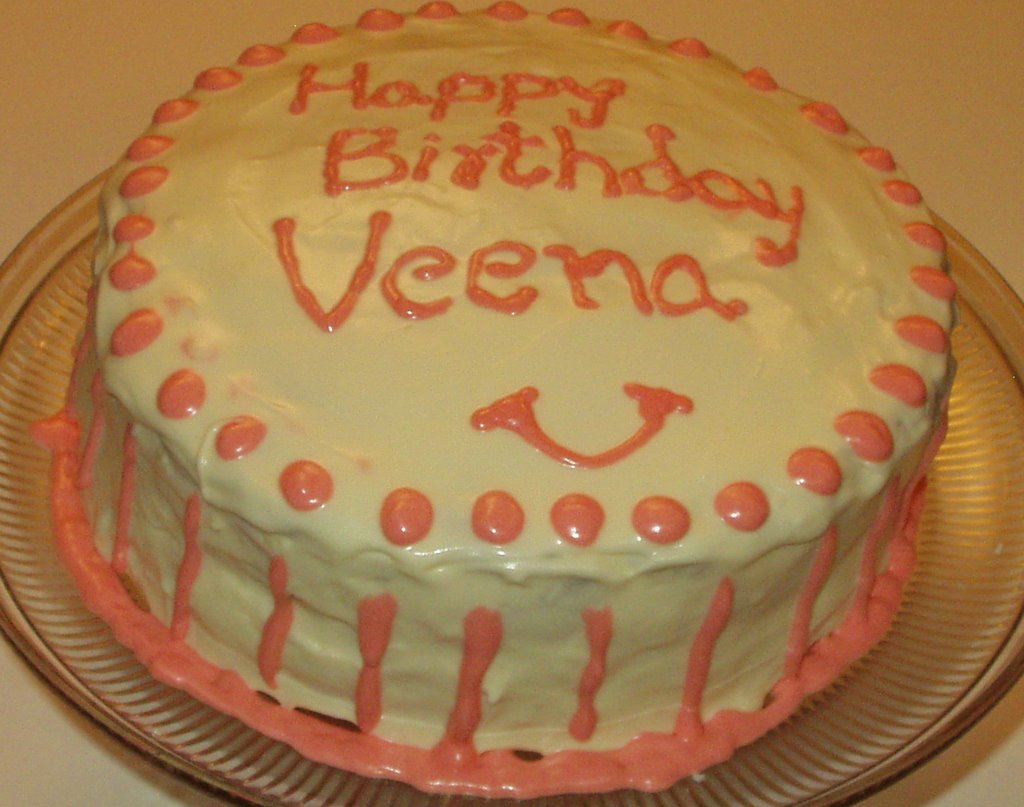
Two of my friends celebrated their birthdays last week and I baked them cakes.

First up is a carrot cake with cream cheese frosting. I found the recipe from the joy of baking website, here. I pretty much used the recipe as is except for the eggs. Instead of 4 eggs, I only used 2. I also doubled the frosting recipe since I was going to frost the sides and decorate the cake as well.

Here are some pictures from the project.

carrot cake layers all ready to be frosted with wax paper put cut into small pieces put under the cake to catch the frosting

first layer of frosting applied (the crumb layer), the cake went into the fridge for an hour before the second layer of frosting

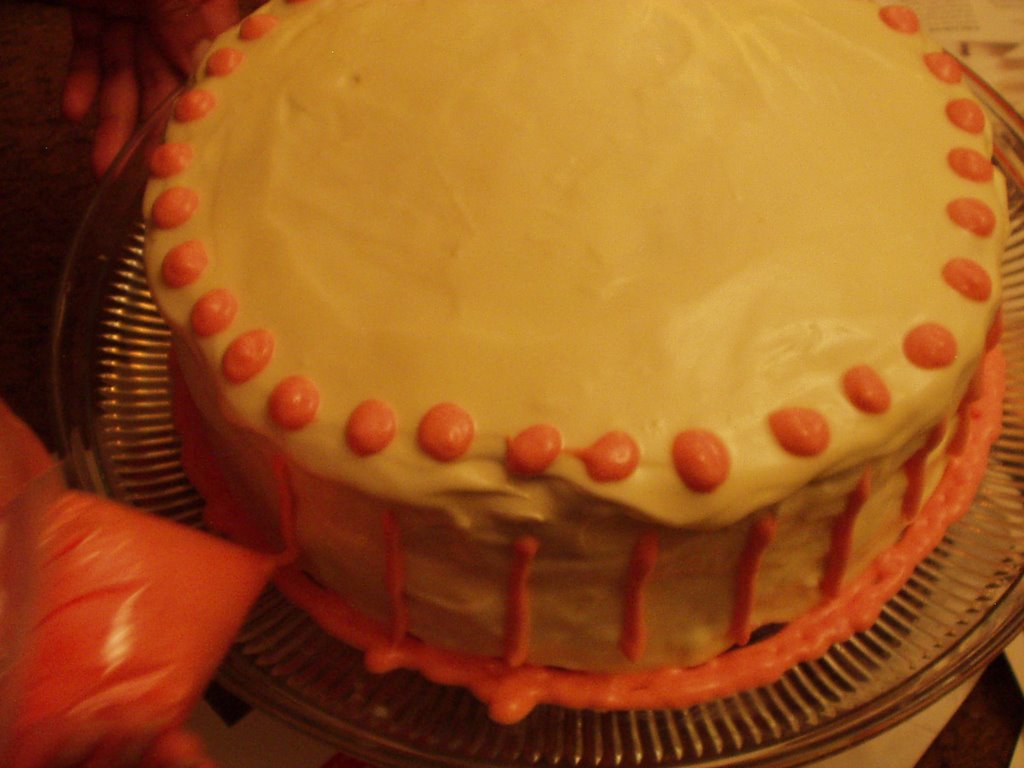
after the second layer of frosting is applied, the cake is being decorated. I put the colored frosting in a ziplock bag and poked a hole at the end to use it as a piping bag

another picture of the cake being decorated

carrot cake all decorated and ready for the birthday girl

I will post the second cake pictures next week. This is my entry to Tony's weekend curry mela.

Have a great weekend everyone!

Tuesday, June 06, 2006

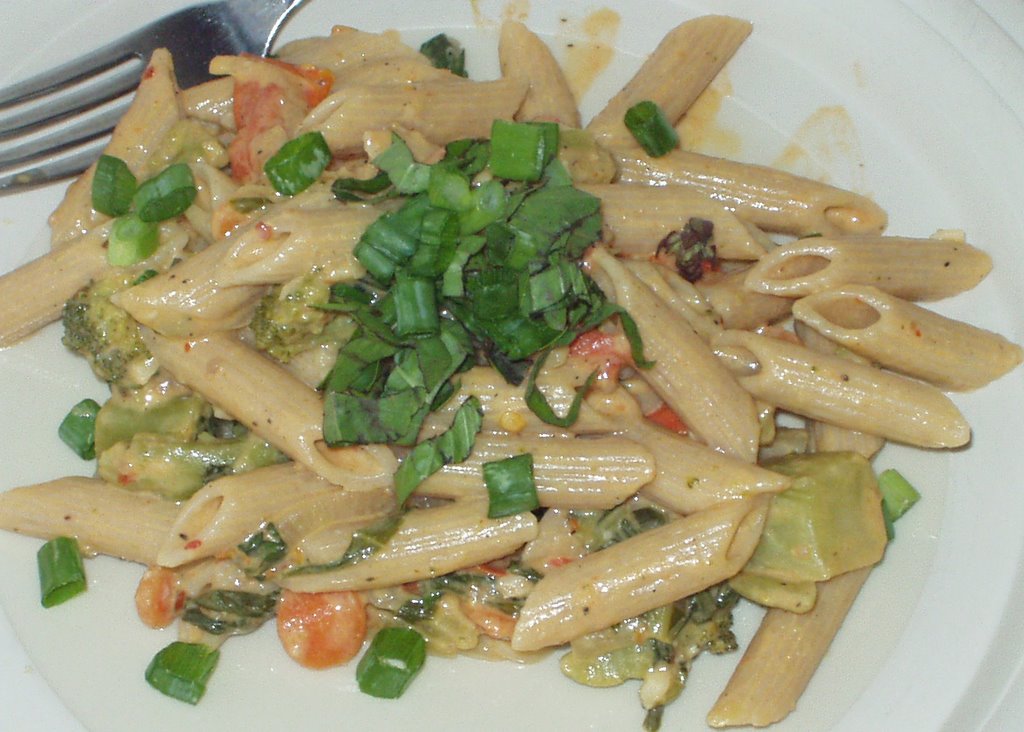
Whole Wheat Penne with Creamy Basil & Veggie Sauce

whole-wheat penne in creamy veggie sauce

What do you do when you have a whole lot of fresh veggies left over and some fresh basil? You make some good pasta :) and send it over to Cate for her weekly ARF/5-a-day round up!

All the veggies mentioned in the recipe can be used as is, some new ones can be thrown in or some of them can be substituted with others - like spinach can be substituted in place of the mustard greens etc.

Software
---------------
  • 10 oz whole-wheat penne pasta
  • 1 sm. onion, sliced
  • 2-3 cloves garlic, minced
  • 2 cups frozen brocolli
  • 2 cups of fresh mustard greens/spinach, chopped
  • 9-10 baby carrots, cut in circles
  • 1 small zucchini, cubed
  • 15-20 cherry/grape tomatoes, halved
  • 2 green onions sliced in circles
  • 1 tbsp red pepper flakes (optional)
  • 2 tsp freshly ground black pepper
  • salt, to taste
  • milk, about 2 cups
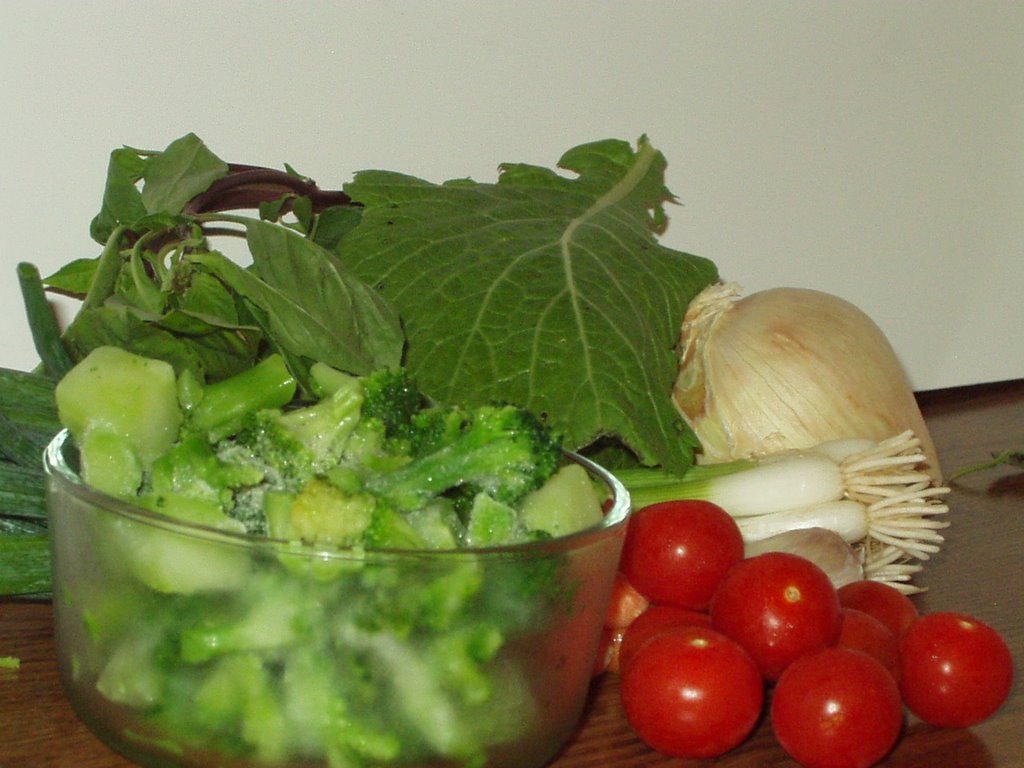
  • 1/2 cup basil leaves, chopped ingredients for the pasta sauce
  • 1/2 cup of freshly grated parmesan cheese
  • 2 tbsp extra virgin olive oil
Hardware
---------------
  • One large saucepan for the pasta
  • One medium-small saucepan for the sauce
Method
---------------
  • Put a large saucepan of water on heat. Cook the pasta according to the package directions. While the pasta is cooking make the sauce as below.
  • Put the smaller sauce pan on medium high heat. Add the oil.
  • After the oil heats up, add the onion and garlic. Saute until onion is translucent.
  • Add the carrots, zucchini and brocolli. Cook for a couple of minutes.
  • Add the mustard greens, tomatoes and two thirds of the green onion. Add the black pepper, red pepper flakes (if using), salt and cook for about 2-4 minutes until the greens wilt and the tomatoes and soft to touch.
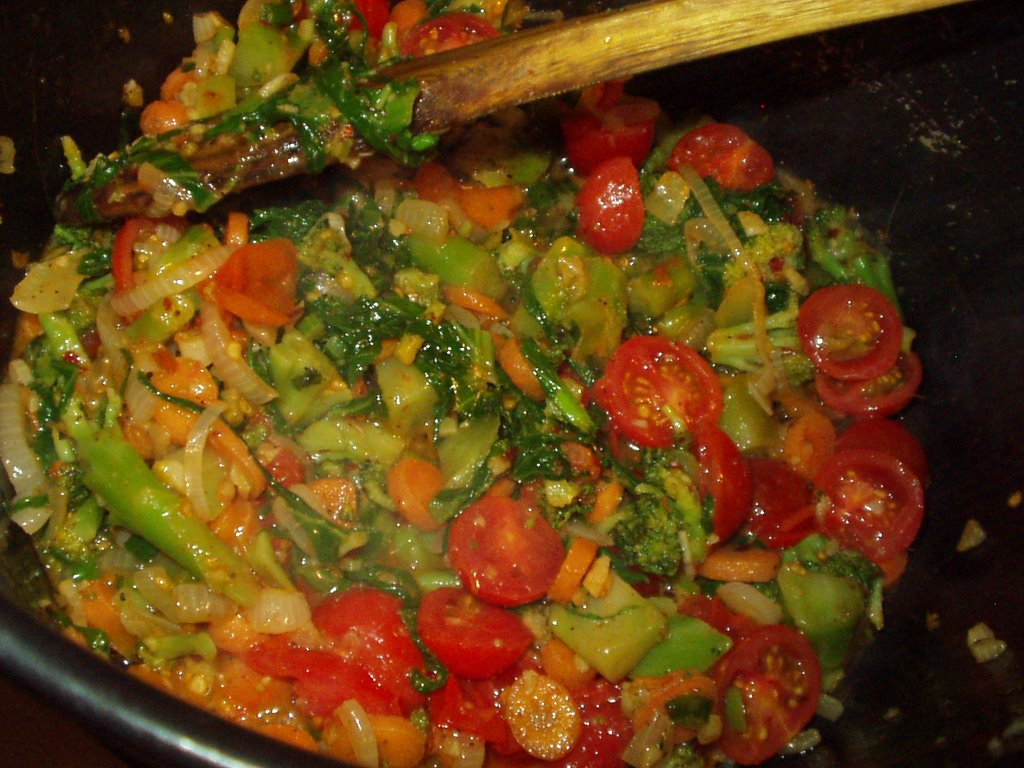
pasta sauce before adding the milk
  • Add the milk (about 2 cups) so all the veggies are well covered. Cook until the milk comes to a boil. Turn off the heat. Add the parmesan cheese and two thirds of the chopped basil.
pasta sauce already to roll

Mix in the sauce with the pasta, add in the rest of the basil and the green onions. Serve.

Kitchen Notes: The reddish tinge in the pasta totally came from the small cherry tomatoes.
You may need to add more milk depending on the amount of veggies you add.

Sunday, June 04, 2006

Cool Refreshing Summer Drink - Strawberry Limeade

Straight to the "recipe" (not) :)

  • 6 oz or 1/2 can frozen limeade mix (like Minute Maid)
  • 1 1/2 cup chopped strawberries
  • About 3-4 cups water (enough to make 40 oz mark on the blender)

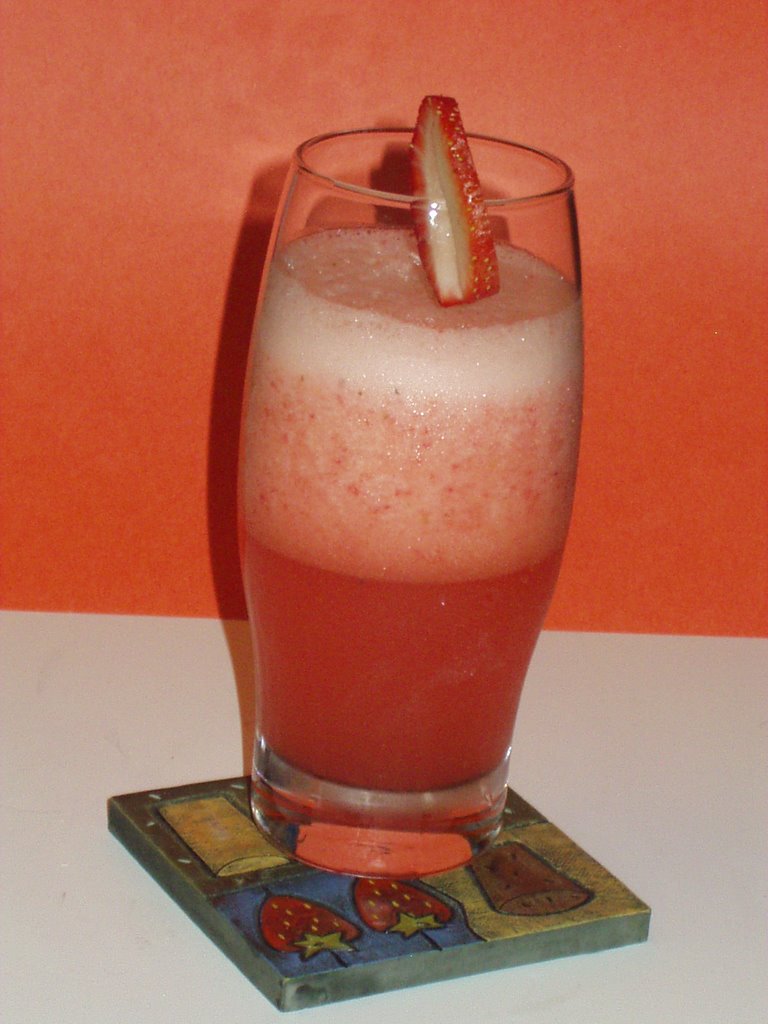
Put everything in the blender, blend well, enjoy with a sliced strawberry!

Thursday, June 01, 2006

Jihva for Ingredients - Cool and Refreshing Strawberry, Spinach and Mandarin Orange Salad

I am back and first off I want to thank you all for your support and wishes for VKN's Cooking Competetion. There are not enough words to express my gratitude for all the love and affection you all have shown! It made me feel so special!

Back to blogging - coming up later tonight on your favorite browsers is my Jihva for Ingredients submission - cool and refreshing strawberry and spinach salad! Stay tuned!


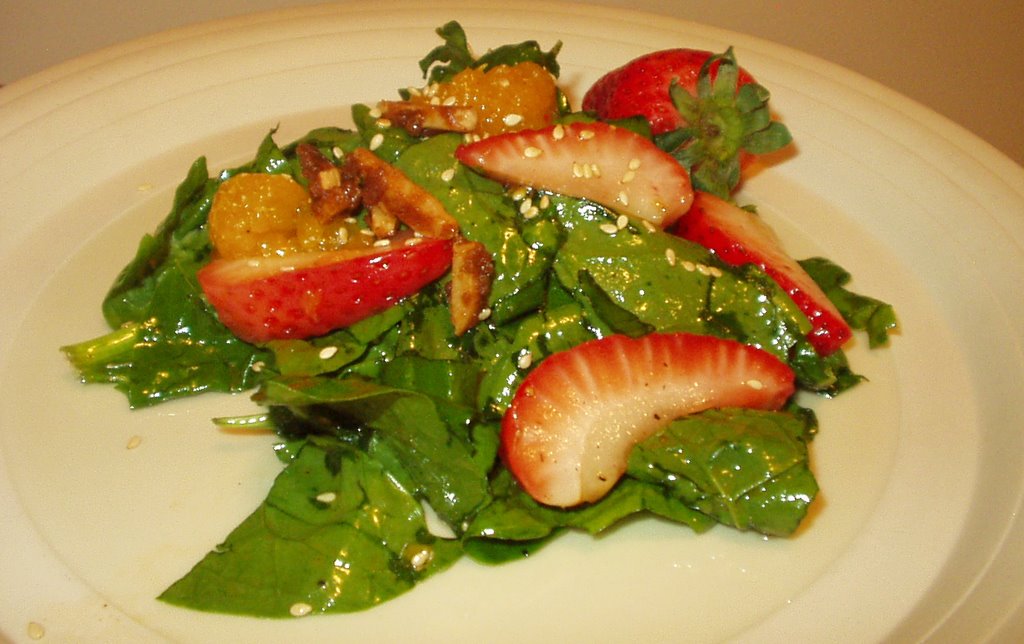
Here's presenting the strawberry, spinach & mandarin orange salad! (Yes, I added the mandarin oranges as a last minute thing. They are totally optional)

strawberry spinach and mandarin orange salad

With my break, I had totally forgotten about the Jihva for ingredients that Baking Fairy is hosting this month. We got invited to go to a lakeside bbq tonight and were asked to bring a covered dish. I decided to make a strawberry and spinach salad as I thought that would be a cool and refreshing treat to everyone. I got home last night with strawberries and spinach, prepped the strawberries (cleaned, hulled, sliced) and spinach (cleaned, dried, chopped) and that is when I remembered the Jihva event. I am just amazed at how little things like this can make me so happy!

Coming to strawberries - unlike last the month's ingredient (the Mango), I do not have any childhood memories associated with strawberries. When I was in India, this fruit (atleast in my region) was not so common. I ate it occasionally with icecream in icecream parlours/shops. When I came to the US, strawberries quickly became one of my favorite fruits in the U.S. People who know me know that whenever I am asked to buy icecream, I always buy either a strawberry or a chocolate icecream. I just love the sweet, succulent strawberries. Though I never eat fast food (McDonalds, Wendys etc) I do indulge in Sonic's strawberry shake once in a while. It is the best :) in my opinion.

This recipe is adapted from many different strawberry and spinach salad recipes out there in the internet world. I modified the recipes along the way to my own taste. It is very simple to make and 90% of the work can be done ahead of time. I am going to be deviating from my usual software, hardware and method style as this is very simple recipe and I don't want to make it look too complicated by adding all that jargon :)!

Put the following together in a large bowl and refrigerate until chilled:
  • 2 bunches fresh spinach, cleaned, dried and coarsely chopped into bite sized peices
  • 4 cups strawberries, cleaned, hulled and sliced
  • one 15 oz can drained mandarin oranges, juice reserved (optional)
Mix the following together until the sugar dissolves in a medium sized bowl and refrigerate until chilled:
  • 1/4 cup white wine vinegar
  • 1/2 cup extra-virgin olive oil
  • 1 tbsp sesame seed oil
  • 1/2 cup reserved mandarin orange juice
  • 1/2 cup white sugar
  • 2 tsp paprika
  • 1/2 tsp freshly ground black pepper
  • 1/4 tsp worcestershire sauce
  • 1/4 tsp onion powder
  • 1/4 tsp garlic powder
  • 1 pinch chilie powder/cayenne pepper
  • 1 pinch salt
  • 2 tbsp toasted sesame seeds
For the candied almonds (optional)


click on pics for enlarged images
  • 1/2 tbsp butter
  • 2-3 tbsp brown sugar, packed
  • 1 large pinch ground cinnamon
  • 1 cup silvered almonds
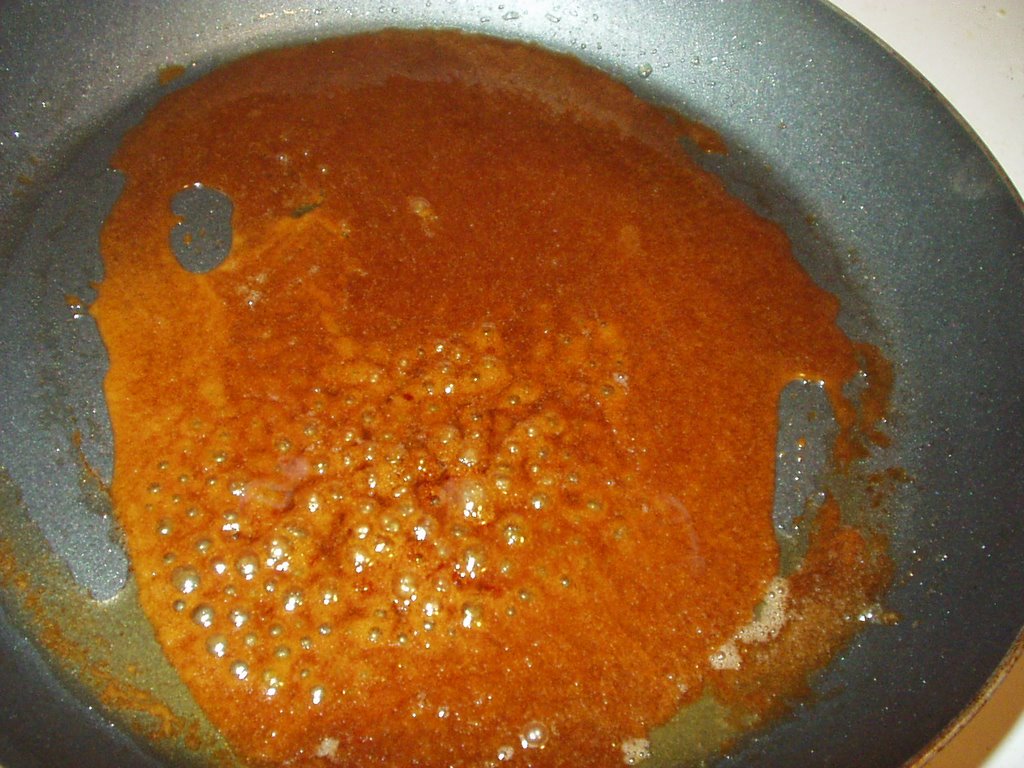
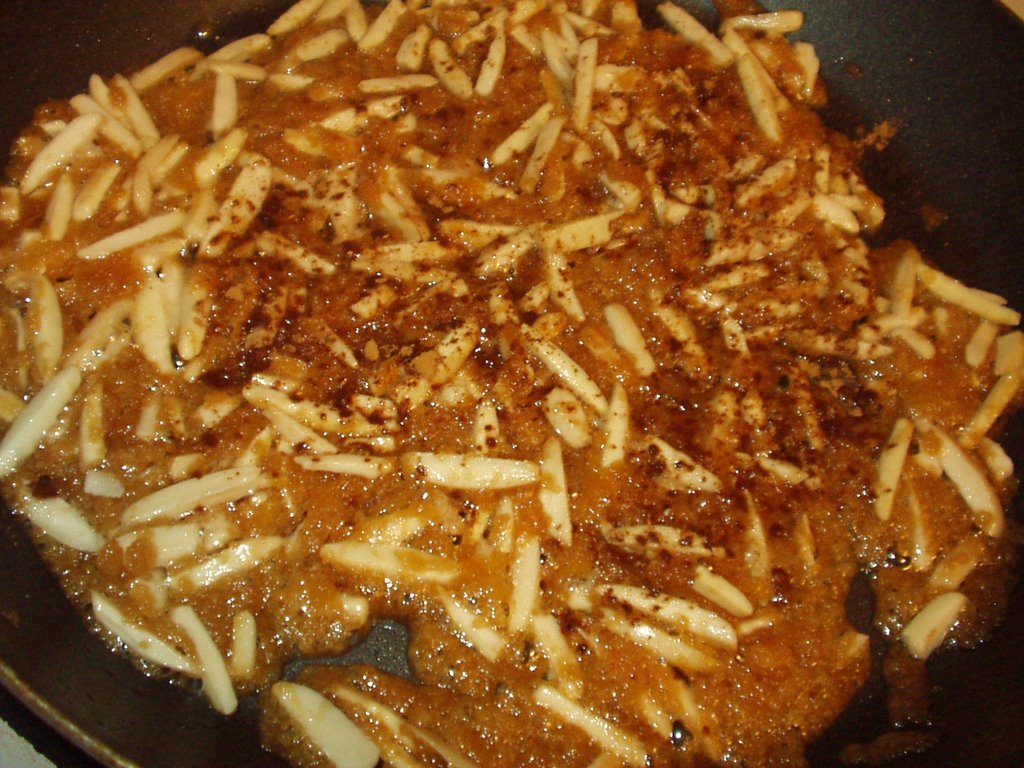
Melt the butter and brown sugar on medium heat on a pan(takes about 4-5 min) and add the almonds and the cinnamon. Stir the almonds constantly so as to avoid them sticking to each other as much as possible for about 5-6 minutes until golden brown! Transfer to a wax paper, seperate the almonds as much as possible and let cool.

Pulling everything together

Mix the dressing thoroughly with the first set of ingredients (spinach, strawberries and oranges). Add candied almonds as a topping. Enjoy!

Thank you Baking Fairy for hosting this wonderful Jihva for Strawberries event!