tomatoes of different shapes and sizes
Well...we moved but still have some unpacking to do which I am not sure will ever get done ;). All my friends tell me that it is "normal" to have some boxes that are left unpacked. We unpacked everything that we "see" lying around in the house on a regular basis but the boxes that were put in the garage during the move are the boxes that we haven't touched.
I thought I would do a quick post before I loose all my blog readers :).
The following is a picture of the tomatoes on the one and only one plant I planted in a 20 inch pot when I was in the apartment. It is still in the pot in the new house and has been doing pretty good, if I may add. It hasn't given me enough tomatoes to actually make a pachadi out of it but the three tomatoes that I harvested from this plant, combined with another couple of tomatoes given to me by my friend Laurie and others that I bought from the local produce market made some awesome pachadi. This will also be my first contribution to the
GBP project that L.G is hosting over at her place.
 the tomato plant in a pot
Back home in India, 'Roti pachadis' are generally made in a stone mortar and pestle by hand. I remember my grandmother, meticulously grinding these awesome pachadis in the "pachadi" mortar and pestle. Their entire house had about 4-5 different kind of stone mortar and pestles - different ones for different uses and different ingredients.
Any whoo, coming to the tomato pachadi - there are a gazillion different ways of doing it. My recipe is from mom and it is so simple that you can still taste the tomatoes without the over powering taste of anything else.
Software
---------------
- Tomatoes - I did not keep track of how many I used. I used all of the large tomatoes that you see in the picture + another half of the small roma ones you see in the picture
- Green chilis - 2-3 sliced
- Red chili powder - 1/2 tsp (or more if you like the heat)
- 1/4 tsp cumin powder
- 1 tsp coriander powder
- Salt - to taste
- 1 tsp extra virgin olive oil
For the tadka/popu
---------------------
- 1 tsp extra virgin olive oil
- 1 tbsp chana dal
- 1 tbsp urad dal
- 1 tsp cumin seeds
- 1 tsp black mustard seeds
- 1 sprig curry leaves, broken
Hardware
---------------
- one sauce pan
- one small pan for the tadka
- Blender/food processor
Method
---------------
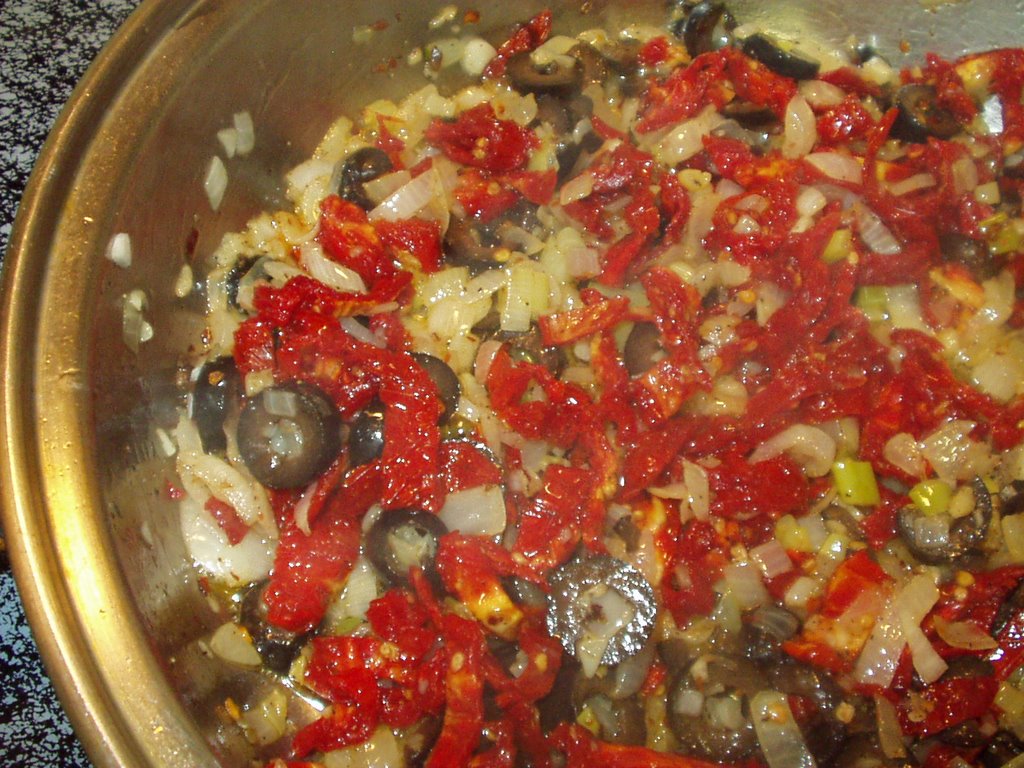
- Put the 1 tsp oil in the sauce pan, add the green chilies and the tomatoes. Cook on medium to medium-high heat until tomatoes are all cooked and water evaporates from them. The tomatoes should resemble a thick mass.
- Add the cumin, coriander powder, chili powder and salt and turn off the heat. Let it cool a bit.
- Put the tomatoes in the blender or food processor and process until smooth.
For the tadka
---------------
- Put the oil in the small pan. Add the chana dal and the urad dal, fry for a minute or so. Add in the cumin and the mustard seeds wait until they splutter. Add the curry leaves. Turn off the heat and add the tadka to the chutney.
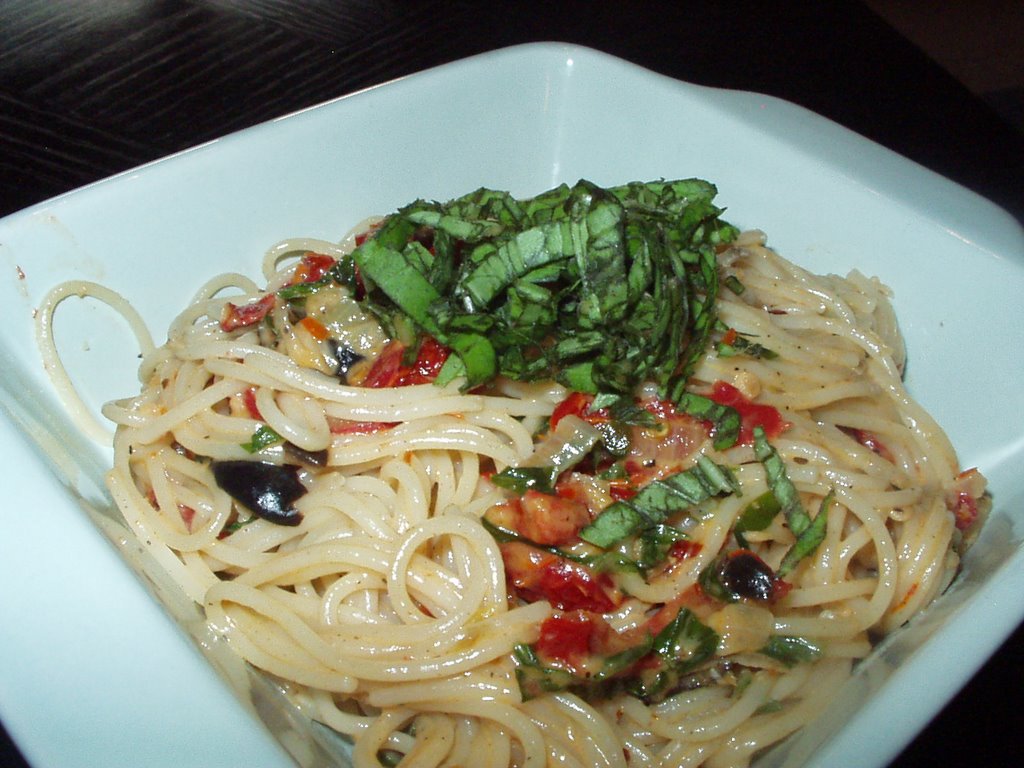
 tomato chutney
PS: The chutney goes well with dal and rice or chapathis. The tadka can be skipped and the chutney could be used as a sandwich/tortilla spread. For a sweet version of the chutney, skip the chili powder, reduce the salt to a pinch and add in some sugar!
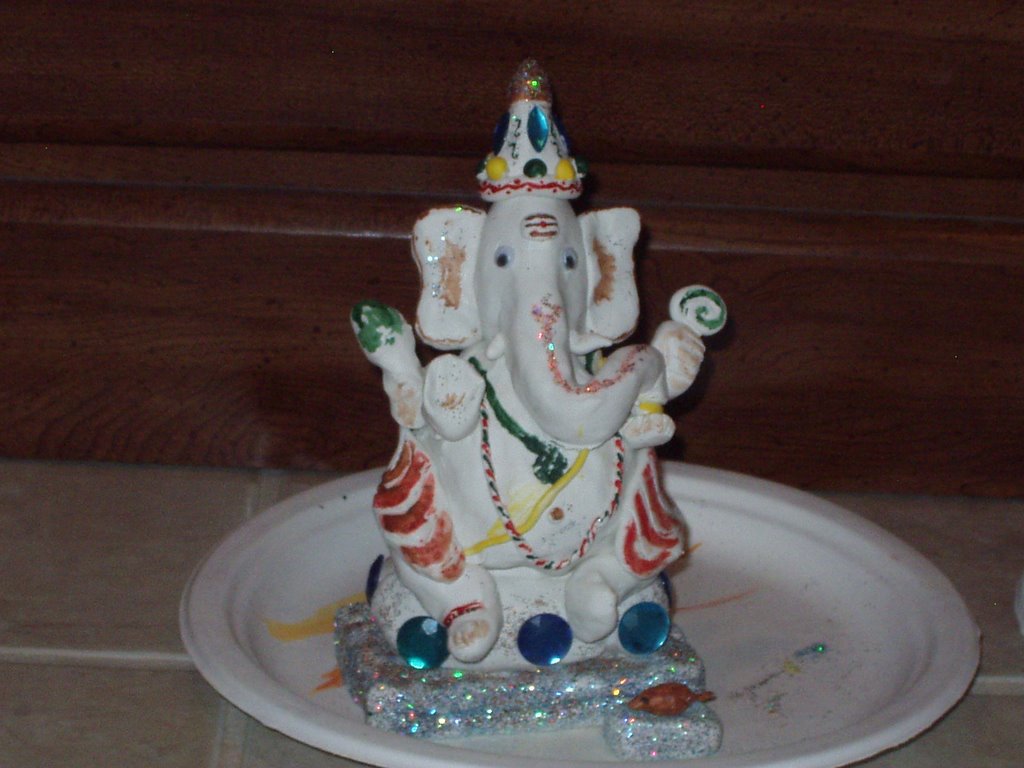
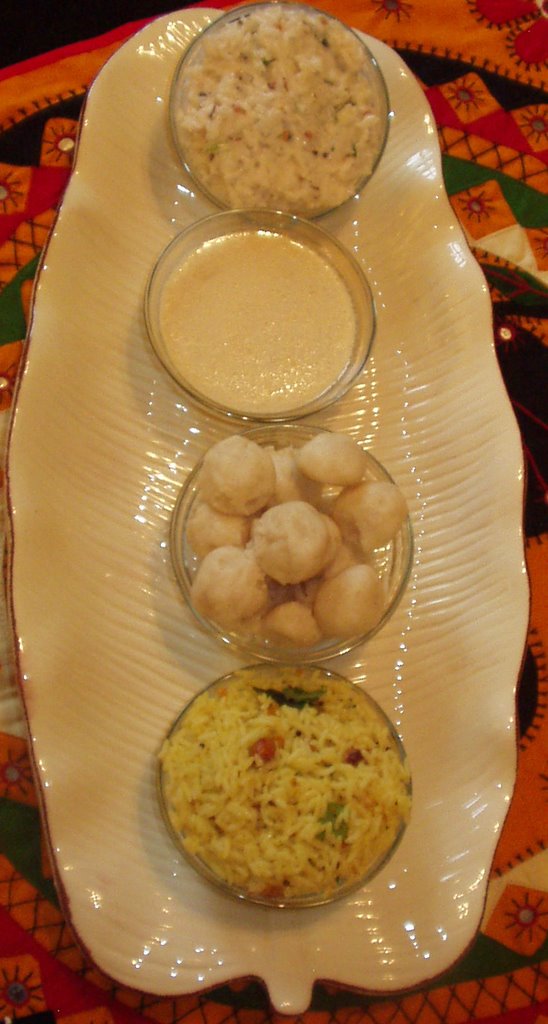 food on Vinayaka Chathurthi - daddojanam, undralla payasam, biyyam undrallu and lemon rice (top to bottom)
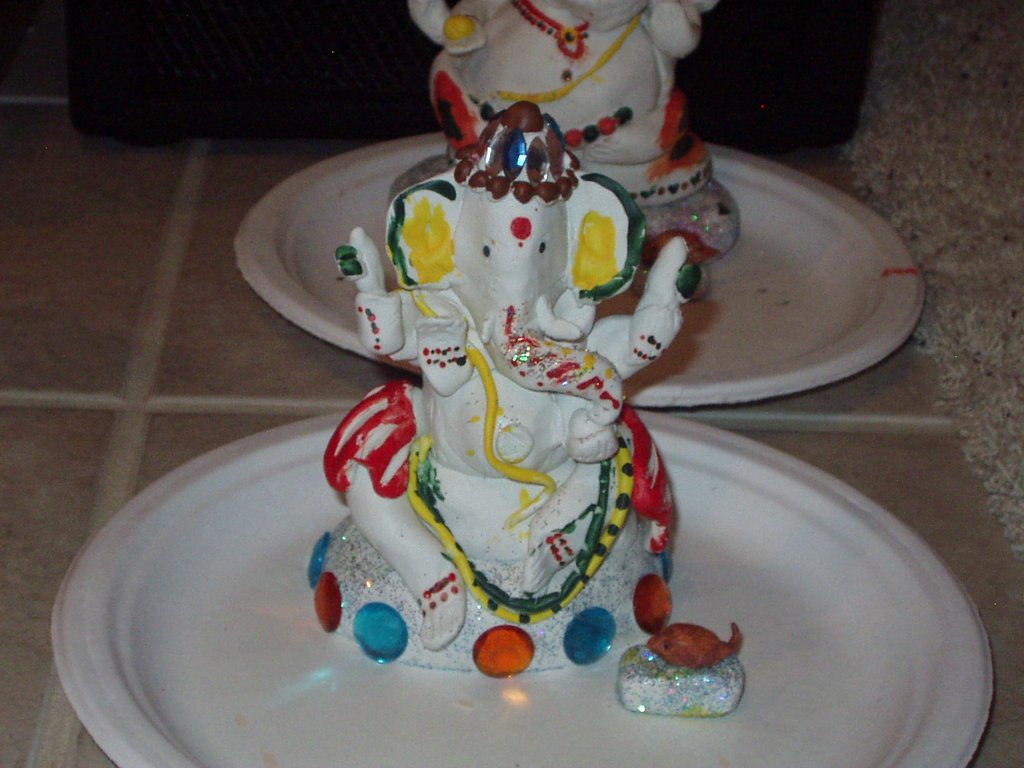
 making the undrallu for the undralla payasam
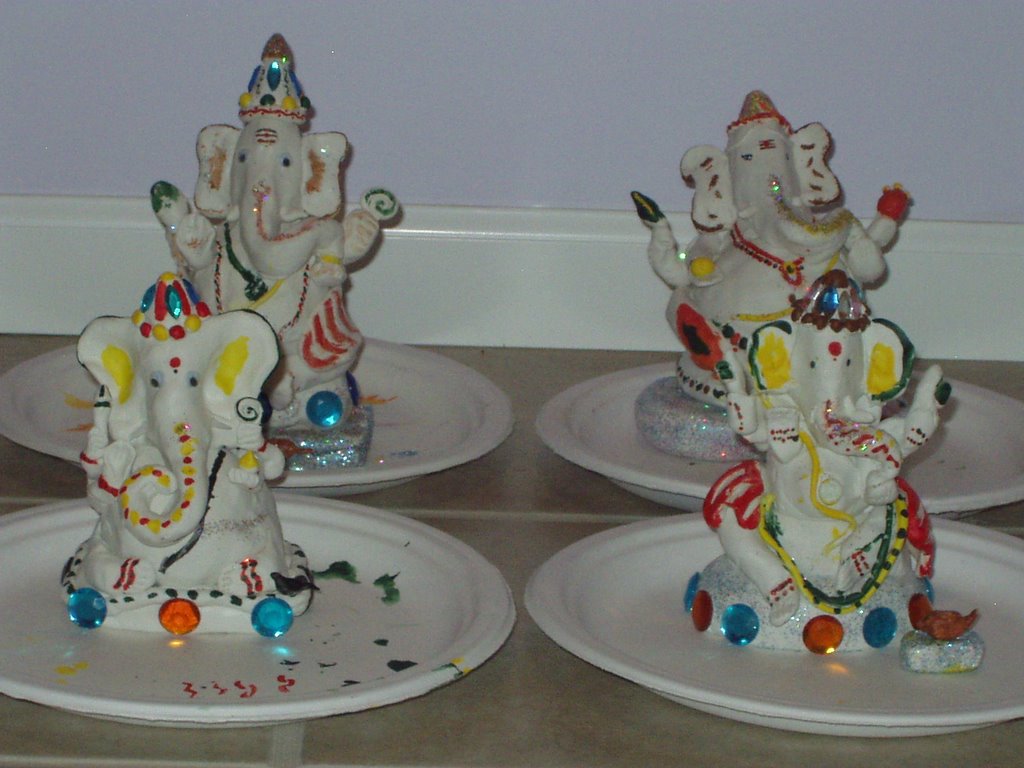
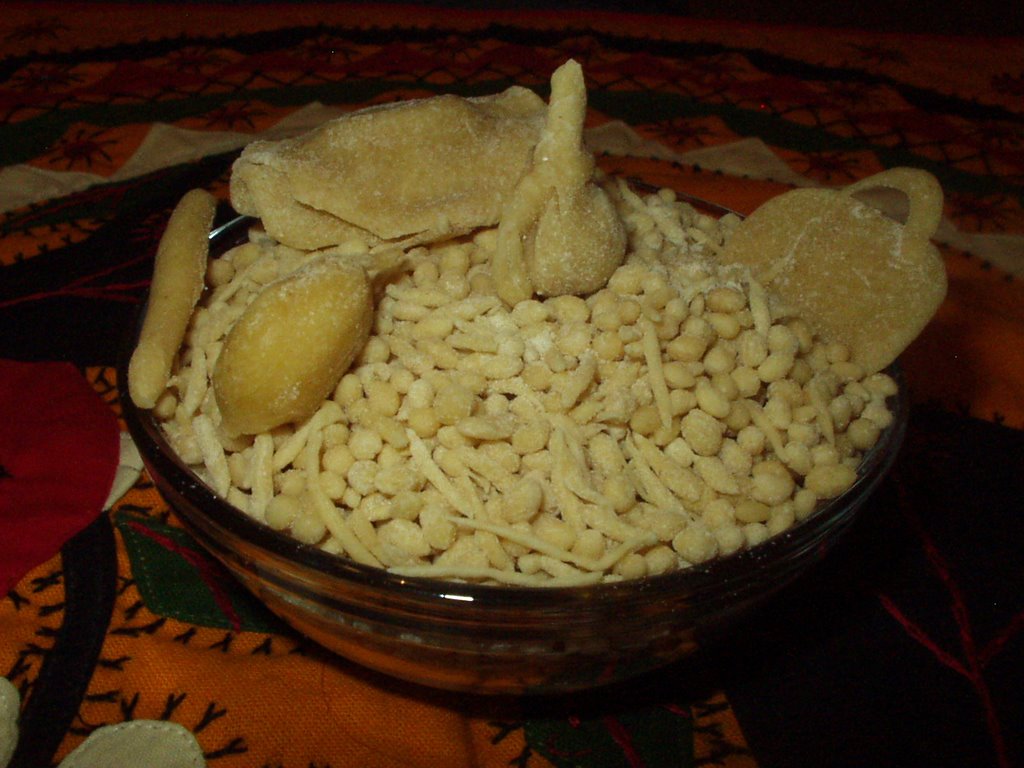 the undrallu all ready to be made into payasam
 3 minute sesame seed and jaggery balls
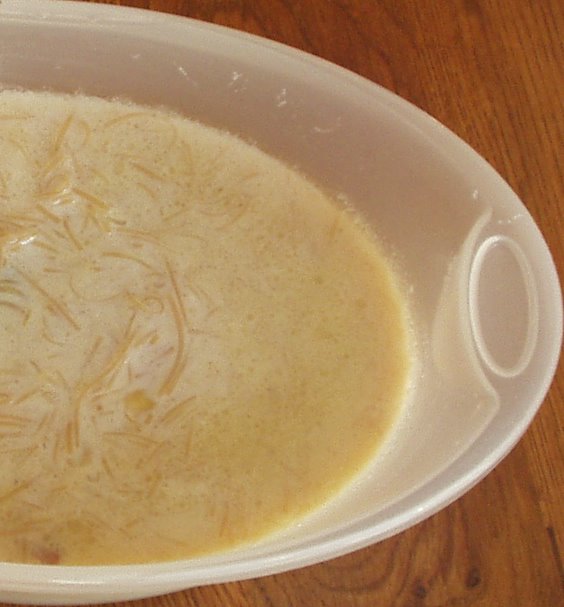 10 min semiya payasam